Back Plate Drilling Machine
Video
1. Application:
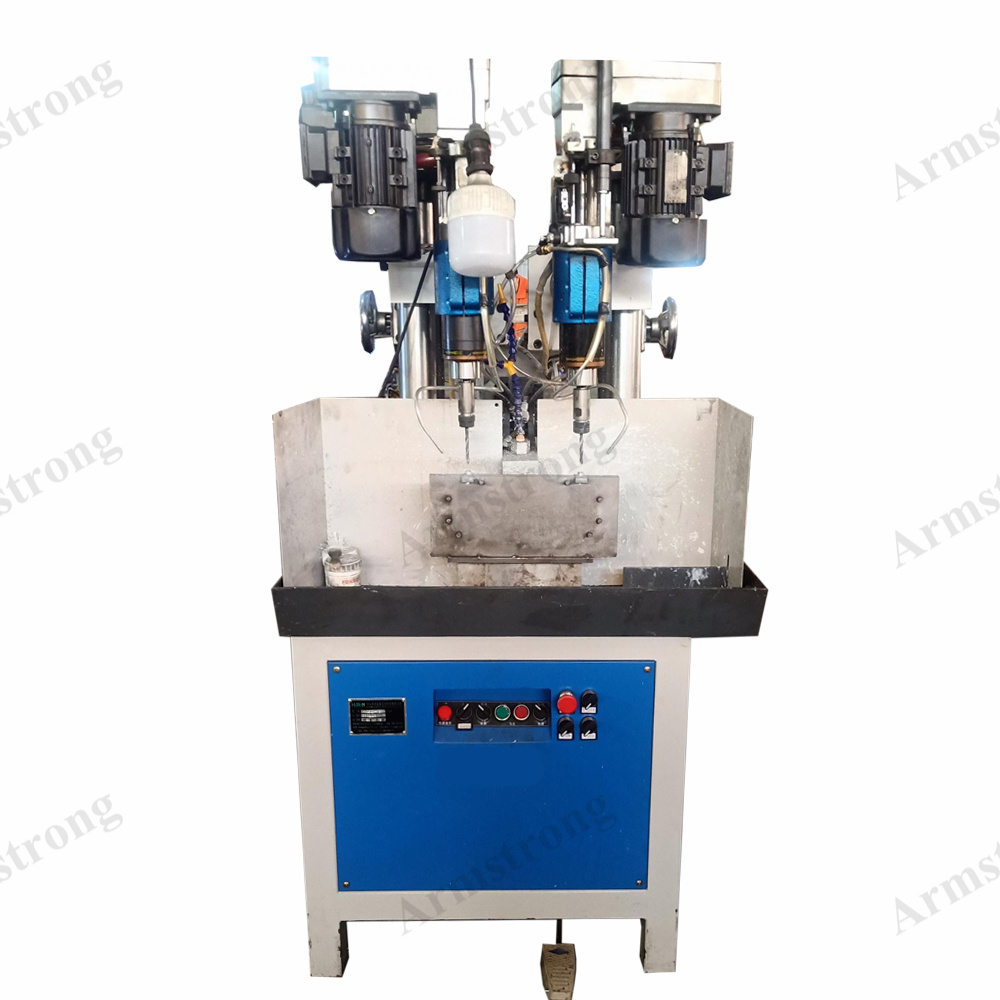
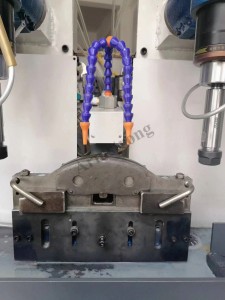
For some brake pad models, the backing plate needs to make two holes on the top edge, the holes diameter and depth are depends on drawings. Thus, we make this drilling machine which especially designed for back plate holes. This equipment is applicable to all back plates of different specifications and different forms of drilling, including the drilling of Commercial Vehicle brake pads, and can also make holes for brake pad alarm line inserting.
2. Our advantages:
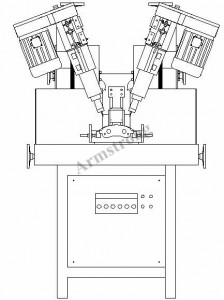
2.1 The angle adjustment equips with angle indicator, which shows the angle change clearly. Worm gear and worm combination hand wheel adjustment. Front and rear, left and right dovetail sliding plate screw rod plus hand wheel adjustment. Power head lifting screw hand wheel adjustment. Easy to operate and adjust the machine.
2.2 Drilling depth: double stations can be controlled independently and automatically.
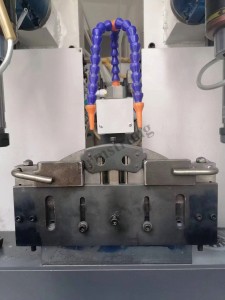
2.3 Product fix mode: Product peripheral positioning, electromagnetic chuck fixation, with universal tooling.
2.4 Drilling head cooling mode: dry drilling or coolant cooling drilling or oil injection drilling head, with automatic tracking gap cooling and manual normally open cooling. (The air-cooled drill needs special requirements from customers.)
2.5 Remove iron filings on the mould - automatic air blowing.
2.6 High production efficiency: The drilling time only spend 3~7 s for each back plate, which can make around 3000 pcs per work shift ( 8 hrs as one shift).
2.7 High drilling precision: the drilling head diameter can be changed according to needs. The aperture accuracy can make at 0.05 mm.
3. How to fix the back plate/brake pads on the tooling?
Step 1: Turn on the power switch
Step 2: Place the steel back by hand so that the maximum arc top of the steel back is aligned with the arc top of the mould, and the two ends of the steel back are symmetrical with the vertical line of the arc top. After that, open the positioning switch to absorb the back plate, adjust the pressure plate and lock the L-shaped bolt and the support plate fastening bolt
Step 3: Turn off the electromagnet switch for positioning.

